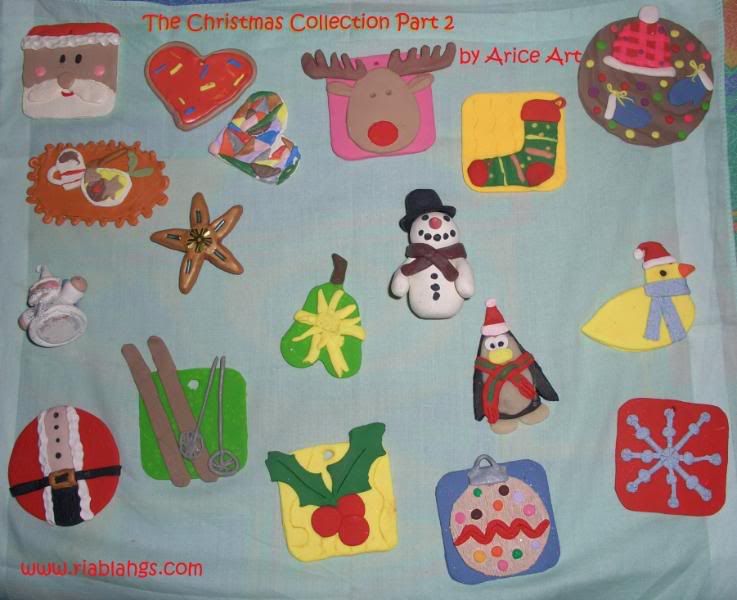
Here's the next part of our ingenious clay art project. I am amazed by the ideas that come to my daughter's head. She'd tell me what she wanted to do and direct me on the tips (and I never had a clue she knew all that!) on how to sculpt, roll, mould, texturize and cure the clay before baking our maestro. Well, these are Christmas Ornaments, as inspired by our friend Judith (I still owe her big time for introducing this
Sculpey clay to me) of
Artsy Clay. You should check her out too because she has amazing collections of original and creative clay art pieces.

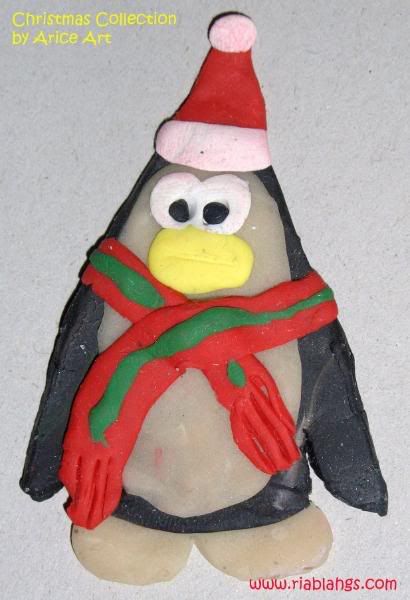
Here's Mr. Pingu, the Christmas penguin. This is a 50-50 labor of love between me and my daughter. She shaped the penguin's body and beak while I did the decorations such as the santa hat and the long scarf.

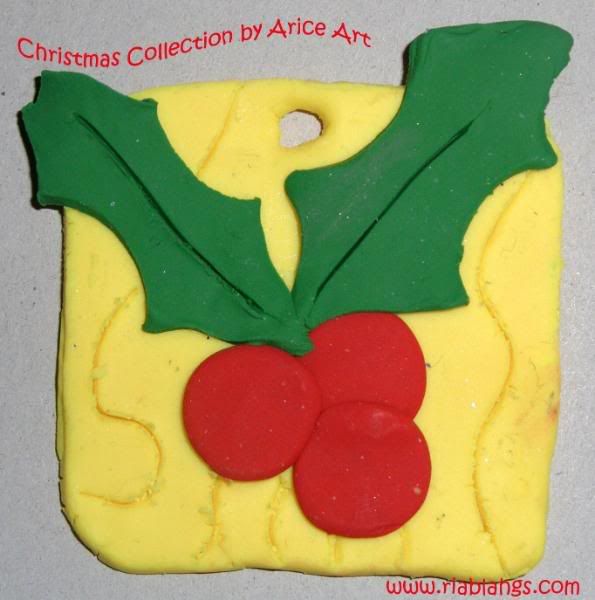
The Christmas Holly made by my daughter.

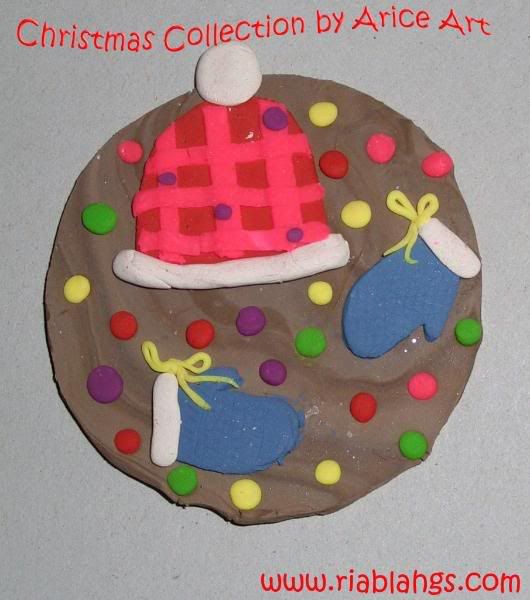
Keeping warm during the cold, winter holidays with beannie and mittens created by my daughter.

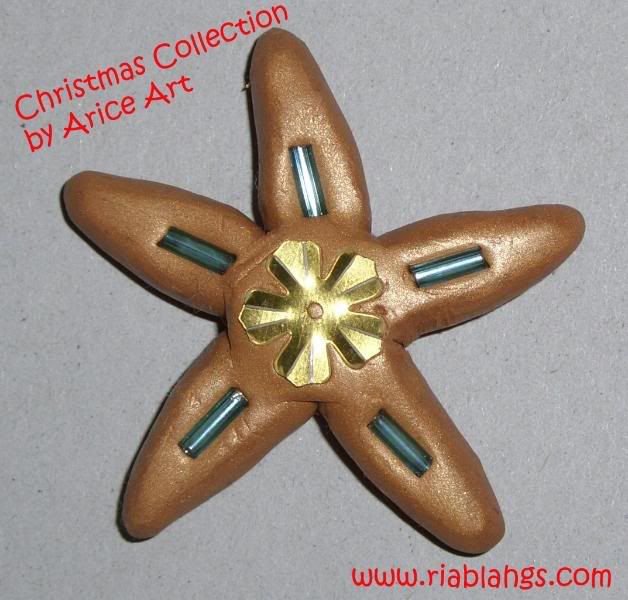
Here's my Christmas Golden Star which I embellished with long beads and a gold star sequin for effect.

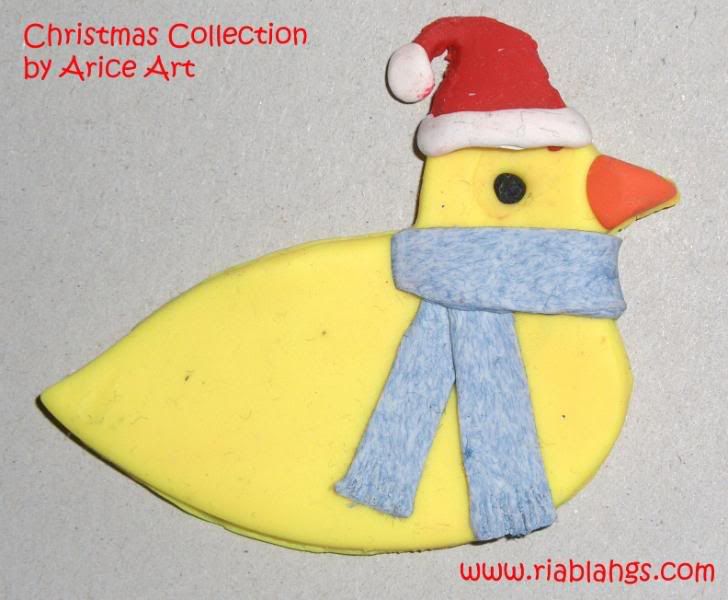
The Christmas Duckie (if there is one..LOL!) made by my princess. She used a cookie cutter for this duckie's shape.

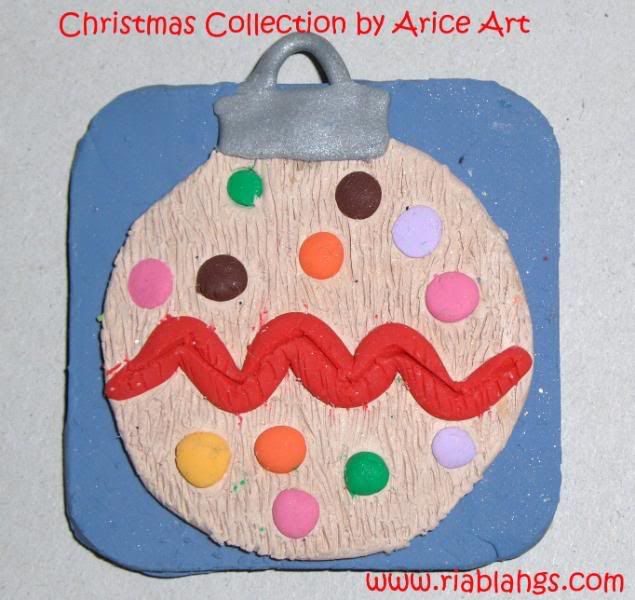
Christmas Bauble of my daughter. She created lines against the bauble to create an illusion of "shimmer." I told her to use glitter instead but she insisted doing the linear texture and it came out great!

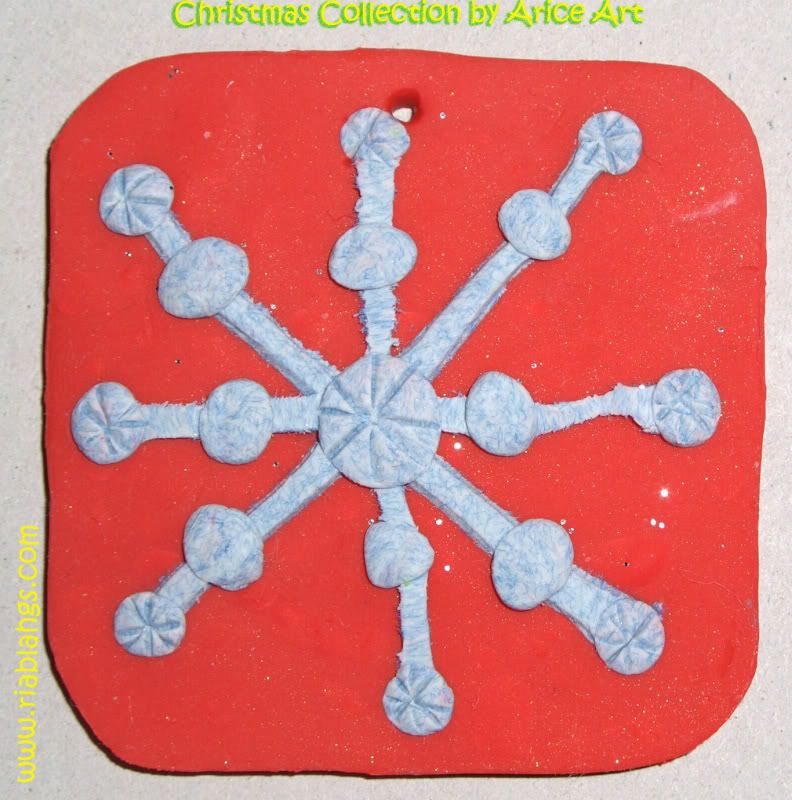
My Christmas snowflake. I had difficulty creating flakes with intricate design so I just balled up some clay and pressed them against line clays I cut from the batch. I scored some lines on the snowflake's balls to create effect using our sharp clay cutter tool.